How to automatically publish your Neocities site using a Github action
A brief note: Whilst this site does aim to be mobile-supported the strict formatting of the code in this article means that it does not display very well on mobile phones. I recommend reading this on a PC instead.
If you are already comfortable using git and Github then skip to step four. If you have never used git and/or Github I'll do my best to explain in the overview but if it doesn't make much sense there are lots of guides & videos out there that will cover it. I don't think you really need that deep of an understanding to do this though.
This relies on a Github action called "deploy-to-neocities" which you can find here.
Overview
So to begin, I'll briefly explain git and Github. Git is something we call "source control" and that means keeping track of changes we make to a piece of work. It's used a lot in software development, but you could just as well source control a novel if you wanted to track your writing & editing. It's especially useful if multiple people are working on the same thing because it allows you to carefully control how different changes get merged together. By using a remote repository (a repository simply being like a folder you keep stuff in) you can control who is allowed to merge back to the "master" or "main" version of whatever it is you're editing. Now even if you work alone there are plenty of advantages to using git, so if you're not already I recommend checking it out.
Github is a remote repository. It's a place on the internet that stores your stuff for you. It has a bunch of features to make your life easier when you use git. It's mostly aimed at software developers, but again, even if the only thing you publish is a Neocities website you have plenty to gain from this. The most essential benefit is the fact that you have all your hard work safely stored somewhere other than your own machine and Neocities - it's a backup.
For a brief introduction to git and Github I found this guide that might be of use. I'm going to do my best to include all the commands you might need here anyway.
Step One - Install git into your local directory
This step is important. Maybe you edit directly in Neocities, if you do you're going to need to copy all your files into a folder on your machine. If you are fortunate enough to already have your whole site in a single folder then great! You're ready to use git. For this guide I am going to be using Windows 10. If you are using another version of Windows it's going to be practically identical.
Now go to the Git web page and download Git.
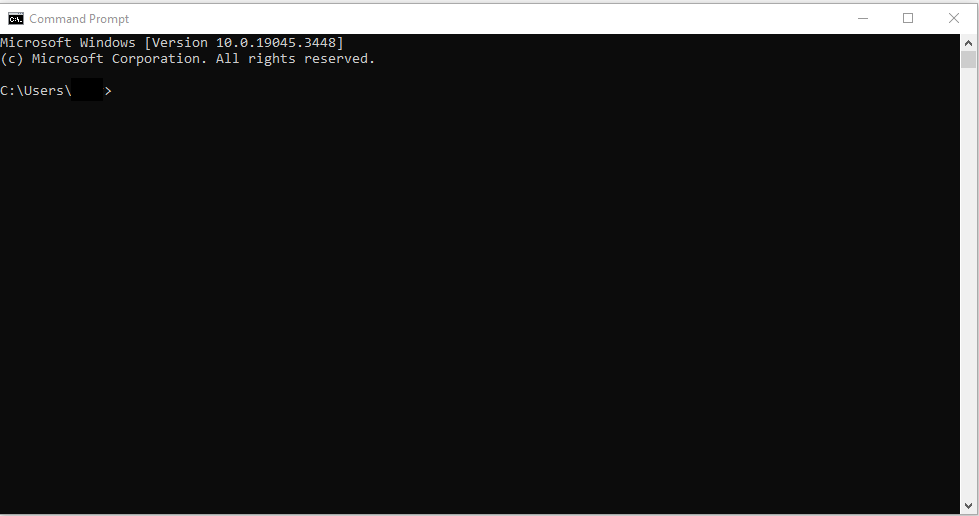
Open up Command Prompt. It's going to look like this:
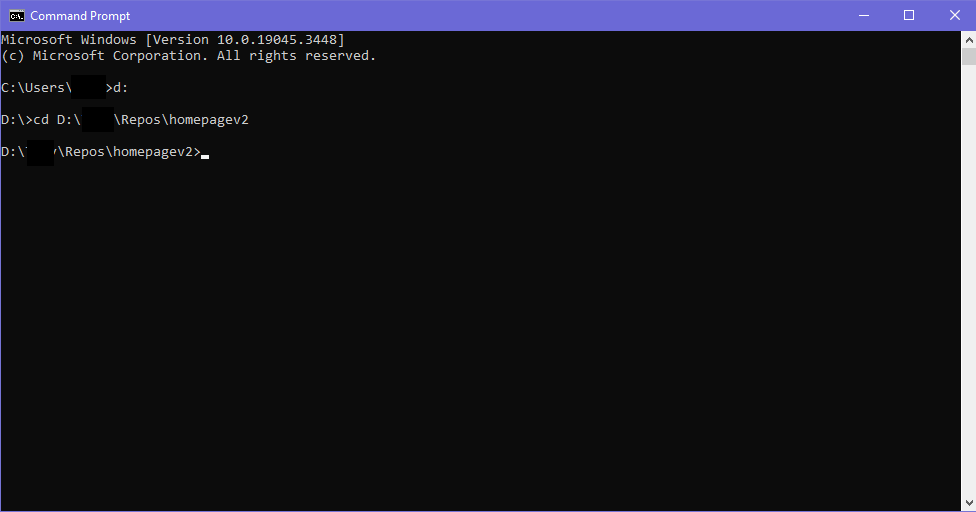
 Now what you have to do is move to the folder, or "directory", that your site lives in. To do
that we use a simple command called "cd"
which stands for "change directory". You can use an "absolute" path, which
means you copy and paste the whole
file path including "C:\" or you can use a "relative" path which is where you navigate from the
location you are currently at. If you
aren't comfortable using a command prompt then use the absolute path by copying it from Windows
explorer. I have two drives on my PC so I had to change drives first, you probably won't have to
do that.
Now what you have to do is move to the folder, or "directory", that your site lives in. To do
that we use a simple command called "cd"
which stands for "change directory". You can use an "absolute" path, which
means you copy and paste the whole
file path including "C:\" or you can use a "relative" path which is where you navigate from the
location you are currently at. If you
aren't comfortable using a command prompt then use the absolute path by copying it from Windows
explorer. I have two drives on my PC so I had to change drives first, you probably won't have to
do that.
Cool! Now we're in the right folder. The next command is super simple - I've already done it so I can't show you, but it's just this:
git init
If you get some error about "git" not being a recognised command then you probably haven't installed git yet. You'll have to do that first. If you don't get an error then congratulations, you now have a source controlled site.
Step Two - Commit your current site.
So now we've added git, but we haven't actually saved the current files to the git repo yet. The way git works is that it can keep track of what's been committed (a fancy word for saved) and what it considers "unstaged changes" or "untracked changes". Any files that have been created but haven't been committed are untracked, so right now your whole site is untracked. We have to change that by running this:
git add .
git commit -m "init"
So just what the heck is happening here? The first line is telling git to add every file in the directory. That's what the "." means, it's a shorthand way of saying "everything". So it literally just means "git add everything". Now that doesn't commit the changes, it stages them. Staged changes are thing we are going to commit but haven't yet. That's where line two comes in. Line two says "commit everything I've staged and give it a message that says "init"." That message can be anything we want, and usually when we're making changes we'll give it a nice message that explains what was changed. Since this is our first, it's pretty common to just put "init", short for "initialising" or "initialised".
Fantastic - We've just committed our site. The next step is to push it to our remote repository...
Step Three - Pushing to your Github repo
If you haven't already, go ahead and create a Github account.
Github is pretty good at guiding you
through creating your first repository as well so I won't go into much detail here. Once you
have it you'll see a page like this one:
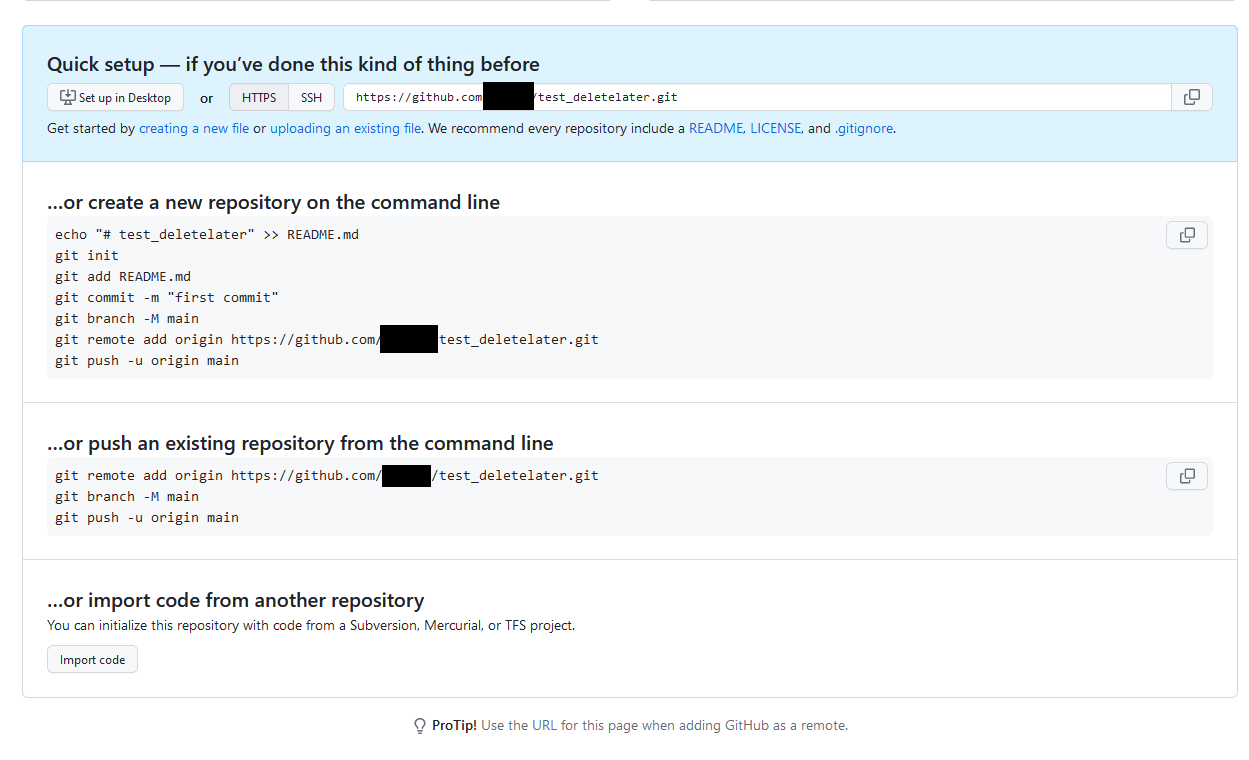
It's the one under "...or push an existing repository from the command line" that we're going to use. Go ahead and copy each line into your command prompt window exactly as Github has written it for you. Don't copy mine, I used a dud repo that I'm going to delete! What this is doing is sending all your local files to your remote Github repository.
Once you've done it refresh your Github repo and you should see your files appear. Yay!
Step Four - Set up the folder structure
Now we're ready to set up our auto-deployment. To begin with, go to your local site
folder and
make a new folder called "public".
This is where we're going to keep all the files that we want to publish, aka the site.
There are
some folders in here now that we don't
want to publish, so they stay outside. Here is mine as an example:
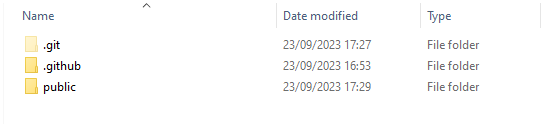 If you have hidden folders set to show then you will notice you have a ".git" folder
too. Don't
put that inside the public folder. Don't worry that
you don't have a ".github" folder either, we're about to make it. As long as you move
all your
site's files and keep them in the same organisation then you shouldn't
have to make any changes to the files themselves, all your images will be in the same
relative
place.
If you have hidden folders set to show then you will notice you have a ".git" folder
too. Don't
put that inside the public folder. Don't worry that
you don't have a ".github" folder either, we're about to make it. As long as you move
all your
site's files and keep them in the same organisation then you shouldn't
have to make any changes to the files themselves, all your images will be in the same
relative
place.
Step Five - Add the .github folder and workflow
Create a folder and call it ".github". Open it and create a folder called "workflows". Open that and create a file called "deploy.yml".
Don't worry if you have never seen a .yml file before. This is a type of configuration file and it's how Github knows what to do.
Copy the code you see below and save it in the "deploy.yml" file exactly as it is written:
name: Deploy to neocities

# only run on changes to main
on:
  push:
    branches:
      - main

concurrency: # prevent concurrent deploys doing strange things
  group: deploy-to-neocities
  cancel-in-progress: true

jobs:
  deploy:
    runs-on: ubuntu-latest

    steps:
    - uses: actions/checkout@v3
    # Set up any tools and build steps here
    # This example uses a Node.js toolchain to build a site
    # When the dist_dir is ready, deploy it to neocities
    - name: Deploy to neocities
      uses: bcomnes/deploy-to-neocities@v1
      with:
        api_token: $
        cleanup: false
        dist_dir: public
This is very basic and can be amended if you know what you're doing. All it does is takes your
main branch and auto-deploys it to the Neocities API key given.
Don't worry if that doesn't make much sense - An API key is kind of like an address, it's unique
to you and we're about to generate one. That's how
Github knows the difference between everyone's Neocities sites so it gets deployed to the right
place.
Remember earlier when we had to commit all your files? We have to commit these changes too. Run this:
git add .
git commit -m "add deploy config"
This stages all our changes, then commits it with the message "add deploy config".
Step Six - Add the secret
We're nearly there! In the config file we just created there was a reference to a secret called
"NEOCITIES_API_TOKEN".
That doesn't exist yet, so let's create it. Go to your Neocities profile and go to the settings.
Go to "Manage Site Settings".
There's an option called "API", open that. You should end up on a page like this, only you
shouldn't have a token yet:
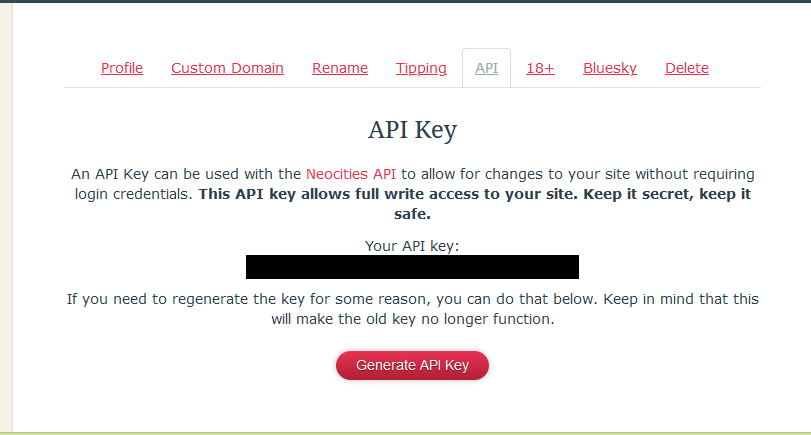 Go ahead and click the "Generate" button and then copy & paste it. DO NOT SHARE THIS.
Literally keep it secret and keep it safe. If this falls into the wrong hands then somebody
malicious could update your site without
your knowledge or consent.
Go ahead and click the "Generate" button and then copy & paste it. DO NOT SHARE THIS.
Literally keep it secret and keep it safe. If this falls into the wrong hands then somebody
malicious could update your site without
your knowledge or consent.
Go back to Github and go to the "Settings" tab. On the left-hand menu there should be a "Secrets
and variables" option. Click it and then
click "actions". Click "New repository secret". 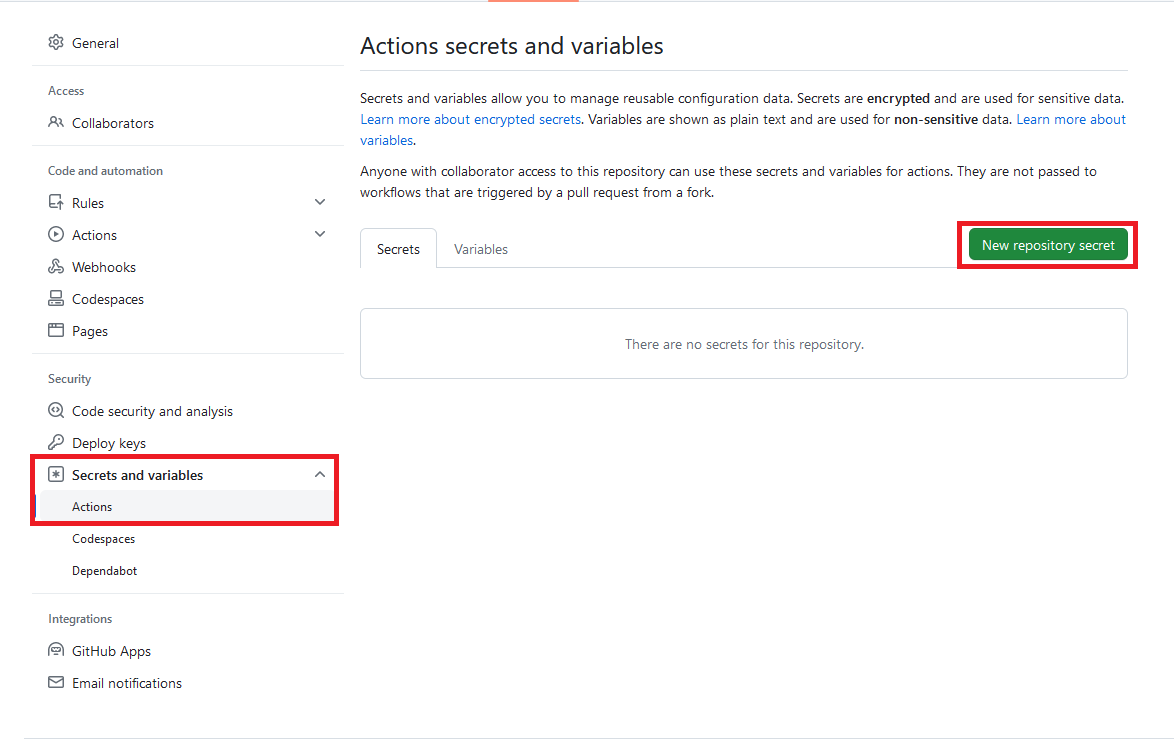 The name must be
NEOCITIES_API_TOKEN and the secret should be
whatever Neocities spat out at you. Click "Add secret" to save it.
Final Step - Push the changes
Before you do this step make sure that everything you want to deploy is in your local folder. Anything that's not here will get overwritten, so make sure you have the latest & greatest version of everything. Once you're happy go back to the command prompt and run this:
git push
What should happen is your new action gets pushed to your repo and Github will automatically deploy the changes. You can check the status by clicking on the "Actions" tab in Github. A green tick means it was successful.
So now whenever you make your changes locally, when you're happy with all you've done you can automatically deploy it to Neocities by running these simple commands:
git add .
git commit -m "put your message here"
git push
Happy coding!
Bonus Step - Multiple branches
Developers never code directly from their production branch. We'll work from a separate "develop" or "feature" branch and only when we're happy with everything do we merge back to the master or main branch. It's safer that way. If this is something you'd like to do then go back to your Windows command prompt and type this:
git checkout -b develop
This is going to create a new branch called develop. Go ahead and make your changes as you normally would. Commit them as you normally would too. Notice that when you push this branch your changes don't get updated on Neocities - that's intentional. That only happens on the main branch. There are several ways you can merge develop into the main branch, the fastest of which is through the command prompt again.
git checkout main
git pull origin develop
git push
This is checking out the main branch, pulling in the develop branch, and pushing it to Github. That will trigger the Neocities deployment.
Final notes
This guide was hastily written and could probably be improved. If you have any thoughts, questions, or issues feel free to use the chatbox on my home page or send a message on my Neocities profile and I'll try to help. It's worth noting that as of 23/09 I am not actually allowed to comment on my own profile as a spam protection so it might be a few days before I reply.
~ Honey